The First 24 Hours After Storm Damage to Your Denver Home

Storm damage creates two separate problems at the same time. The first is physical: water may be entering the roof system, shingles may be missing, flashing may be loose, gutters may be torn away, or a tree limb may have opened the roof. The second is administrative: the homeowner has to preserve evidence, contact the correct insurance department, keep track of names and claim numbers, and coordinate inspections while still dealing with the damage inside the home.
Safety comes before the claim. Stay away from fallen power lines, broken glass, unstable branches, standing water near electrical equipment, sagging ceilings, and any roof area that appears soft or collapsed. If there is a fire, gas odor, structural danger, or threat to people, call emergency services. A roof claim can be handled after everyone is safe. A serious injury cannot be undone.
Once the immediate danger is controlled, take reasonable steps to prevent the loss from becoming worse. Move furniture and electronics away from leaks. Place containers under active drips. Protect flooring. If the roof has an exposed opening, arrange temporary tarping or emergency dry-in work from a qualified roofing contractor. Do not climb onto a wet, icy, steep, or damaged roof. Denver storms often leave loose granules, lifted shingles, slick surfaces, and hidden soft spots that make a roof more dangerous than it looks from the ground.
If this is your first time hearing this, temporary protection and permanent repair are not the same thing. Temporary work is meant to control water and preserve the property until the roof can be fully inspected. Permanent work removes and replaces damaged components. Document the original condition before temporary work whenever it is safe, and save every receipt.
Helpful service: erniesroofing.com/emergency-roof-repair/
Step One: Document the Storm Damage Before Cleanup or Permanent Repair

Good claim documentation tells the story of the damage in a way another person can follow. Start with wide photographs showing the entire front, rear, and side elevations of the home. Then move closer to specific damage. Photograph hail on the ground, shingles or roofing pieces in the yard, dented gutters, bent downspouts, damaged vents, broken skylights, lifted flashing, missing shingles, torn siding, water stains, wet insulation, and damaged personal property.
Use video to show active leaks, dripping water, the path water is taking, or a loose roof component moving in the wind. Record the date and approximate time of the storm. If hail remains on the ground, place a ruler or familiar object beside a hailstone for scale. Do not rely on one close-up photograph with no surrounding reference. An adjuster or contractor needs to understand where the damage is located on the building.
- Photograph before moving or covering anything: Get the original condition first whenever safety allows.
- Take wide, medium, and close views: Wide photos establish location, medium photos show the damaged component, and close photos show detail.
- Include interior and attic evidence: Ceiling stains, wet insulation, decking discoloration, and water trails may show how far the damage spread.
- Save damaged materials when practical: Broken vents, shingles, trim, or other removed pieces may help document what was replaced.
- Keep every invoice and receipt: Temporary tarping, boarding, water extraction, drying equipment, lodging, and emergency purchases may need to be reviewed by the carrier.
- Create a claim folder: Store photographs, policy documents, estimates, emails, invoices, and inspection reports under the property address and storm date.
Helpful service: erniesroofing.com/hail-storm-damage-roof-repair-in-denver/
Step Two: Contact the Insurance Carrier and Get a Claim Number
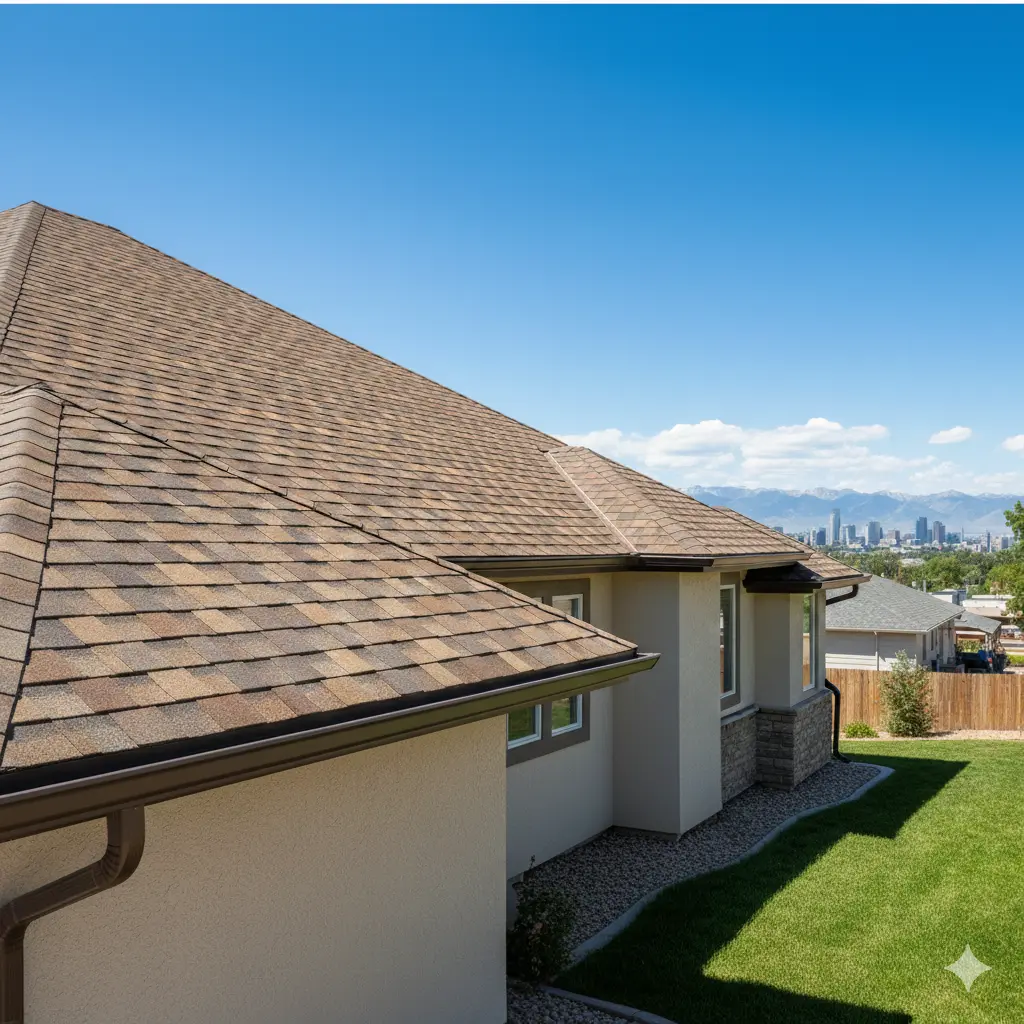
Use the claims number listed on the insurance card, policy declarations page, carrier application, or official carrier website. Be ready with the policy number, property address, named insured, storm date, approximate time, and a basic description of what happened. Keep the first report factual. You do not need to diagnose every roofing component during the opening phone call.
Ask for the claim number before the call ends. Write down the representative's name, the date and time, the document-upload method, and what happens next. Ask whether the carrier will assign a field adjuster, request photographs, schedule a virtual inspection, or use another inspection process. Put the claim number on every email, estimate, invoice, and photograph package sent to the carrier.
A professional roof inspection should happen early enough to preserve the construction facts. Ernie's Roofing inspects shingles, ridge caps, valleys, flashing, pipe boots, vents, skylights, roof edges, visible decking conditions, gutters, downspouts, fascia, and signs of interior water movement. We document what is physically present and explain whether the condition appears repairable, requires emergency protection, or may involve a larger replacement scope.
The roofing contractor and the insurance adjuster have different jobs. The contractor explains construction conditions, measurements, materials, repair methods, and costs. The adjuster represents the insurance carrier and evaluates the reported loss under the policy. Ernie's Roofing does not interpret coverage, promise approval, negotiate the claim as a public adjuster, or give legal advice.
Schedule inspection: erniesroofing.com/contact-us/
Step Three: Prepare for the Adjuster Inspection and Review the Written Scope
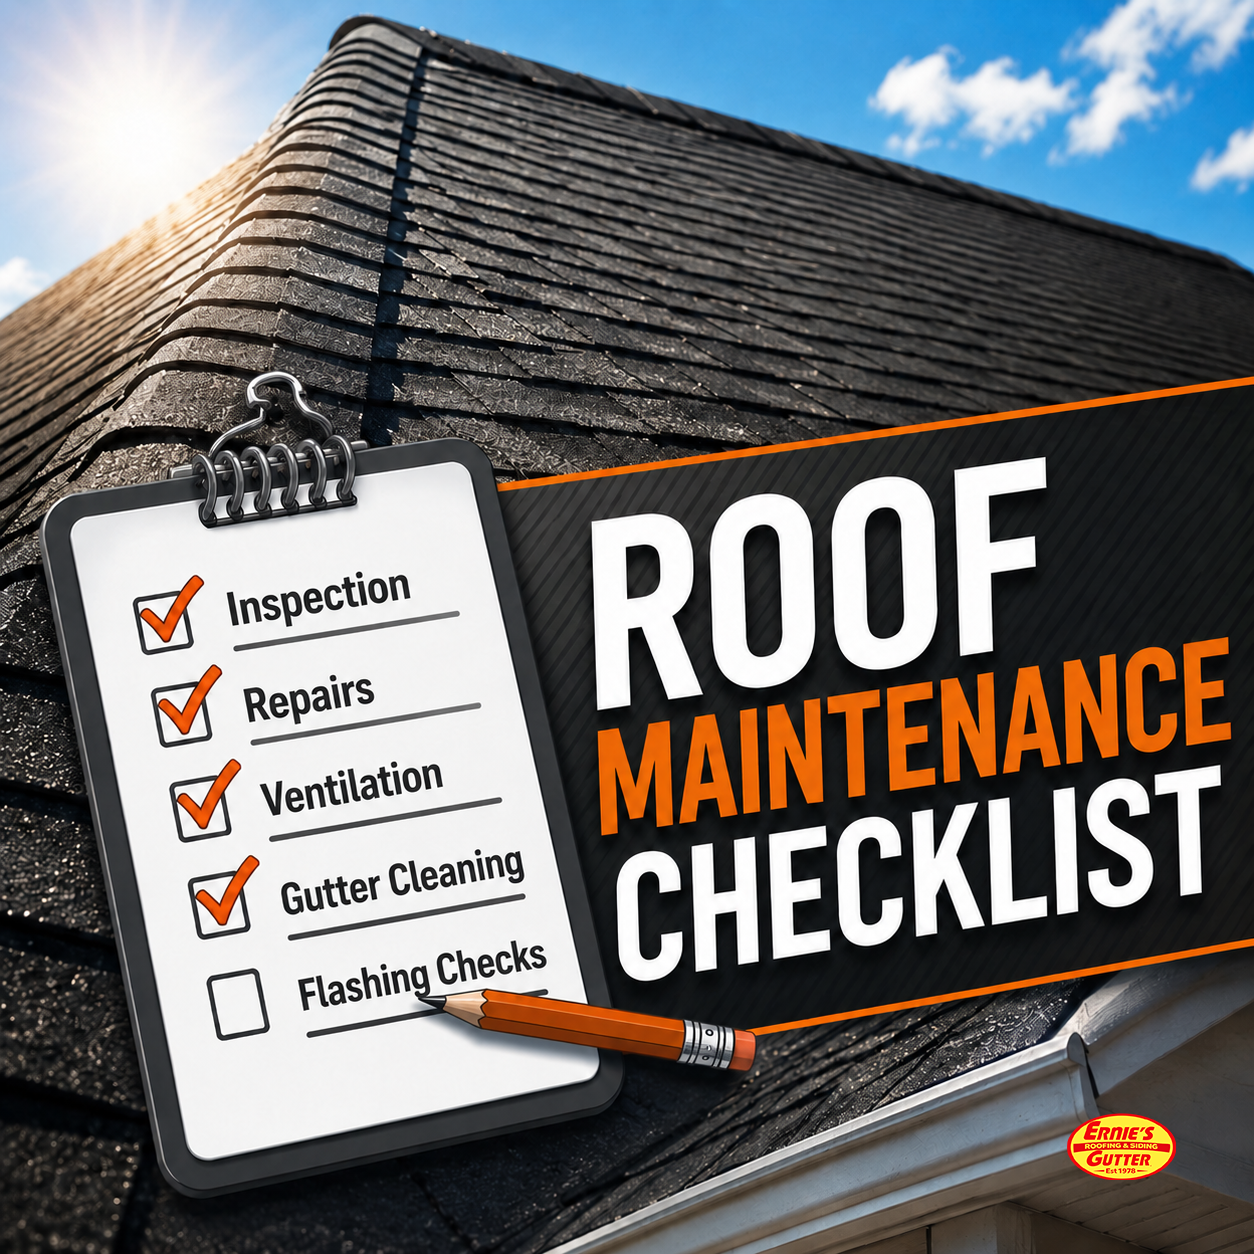
Before the adjuster arrives, organize the claim number, storm date, photographs, emergency invoices, contractor findings, and a short room-by-room or elevation-by-elevation list of damage. Make access to the attic, interior stains, and exterior damage as practical as possible. Ask whether your roofing contractor may attend the inspection. A contractor can provide roof access, measurements, photographs, and construction explanations while allowing the adjuster to perform the carrier's independent inspection.
After the carrier produces a written estimate or scope, compare it with the actual construction requirements. Check the roof measurements, number of slopes, roofing layers, flashing, vents, pipe boots, ridge cap, underlayment, drip edge, gutters, disposal, access, permits, code-required details, and any interior repairs. A line-item estimate can look complete while still omitting components that are necessary to rebuild the roof correctly.
Hidden conditions may not be visible until damaged materials are removed. Decking deterioration, additional roof layers, concealed flashing problems, or code requirements can change the construction scope. A legitimate construction supplement should be tied to measurable work, photographs, invoices, manufacturer instructions, permit requirements, or code details. The contractor supports why the construction item is required. The insurance carrier decides whether the item is payable under the policy.
Do not sign a contract you do not understand. Read any contingency agreement, assignment of benefits, authorization, financing document, or direction-to-pay form completely. Ask what happens if the claim is denied, partially approved, or withdrawn. Keep copies of everything you sign. Pressure to sign before the damage has been explained is a warning sign, not a normal requirement.
Helpful service: erniesroofing.com/roof-repair-in-denver-co/